
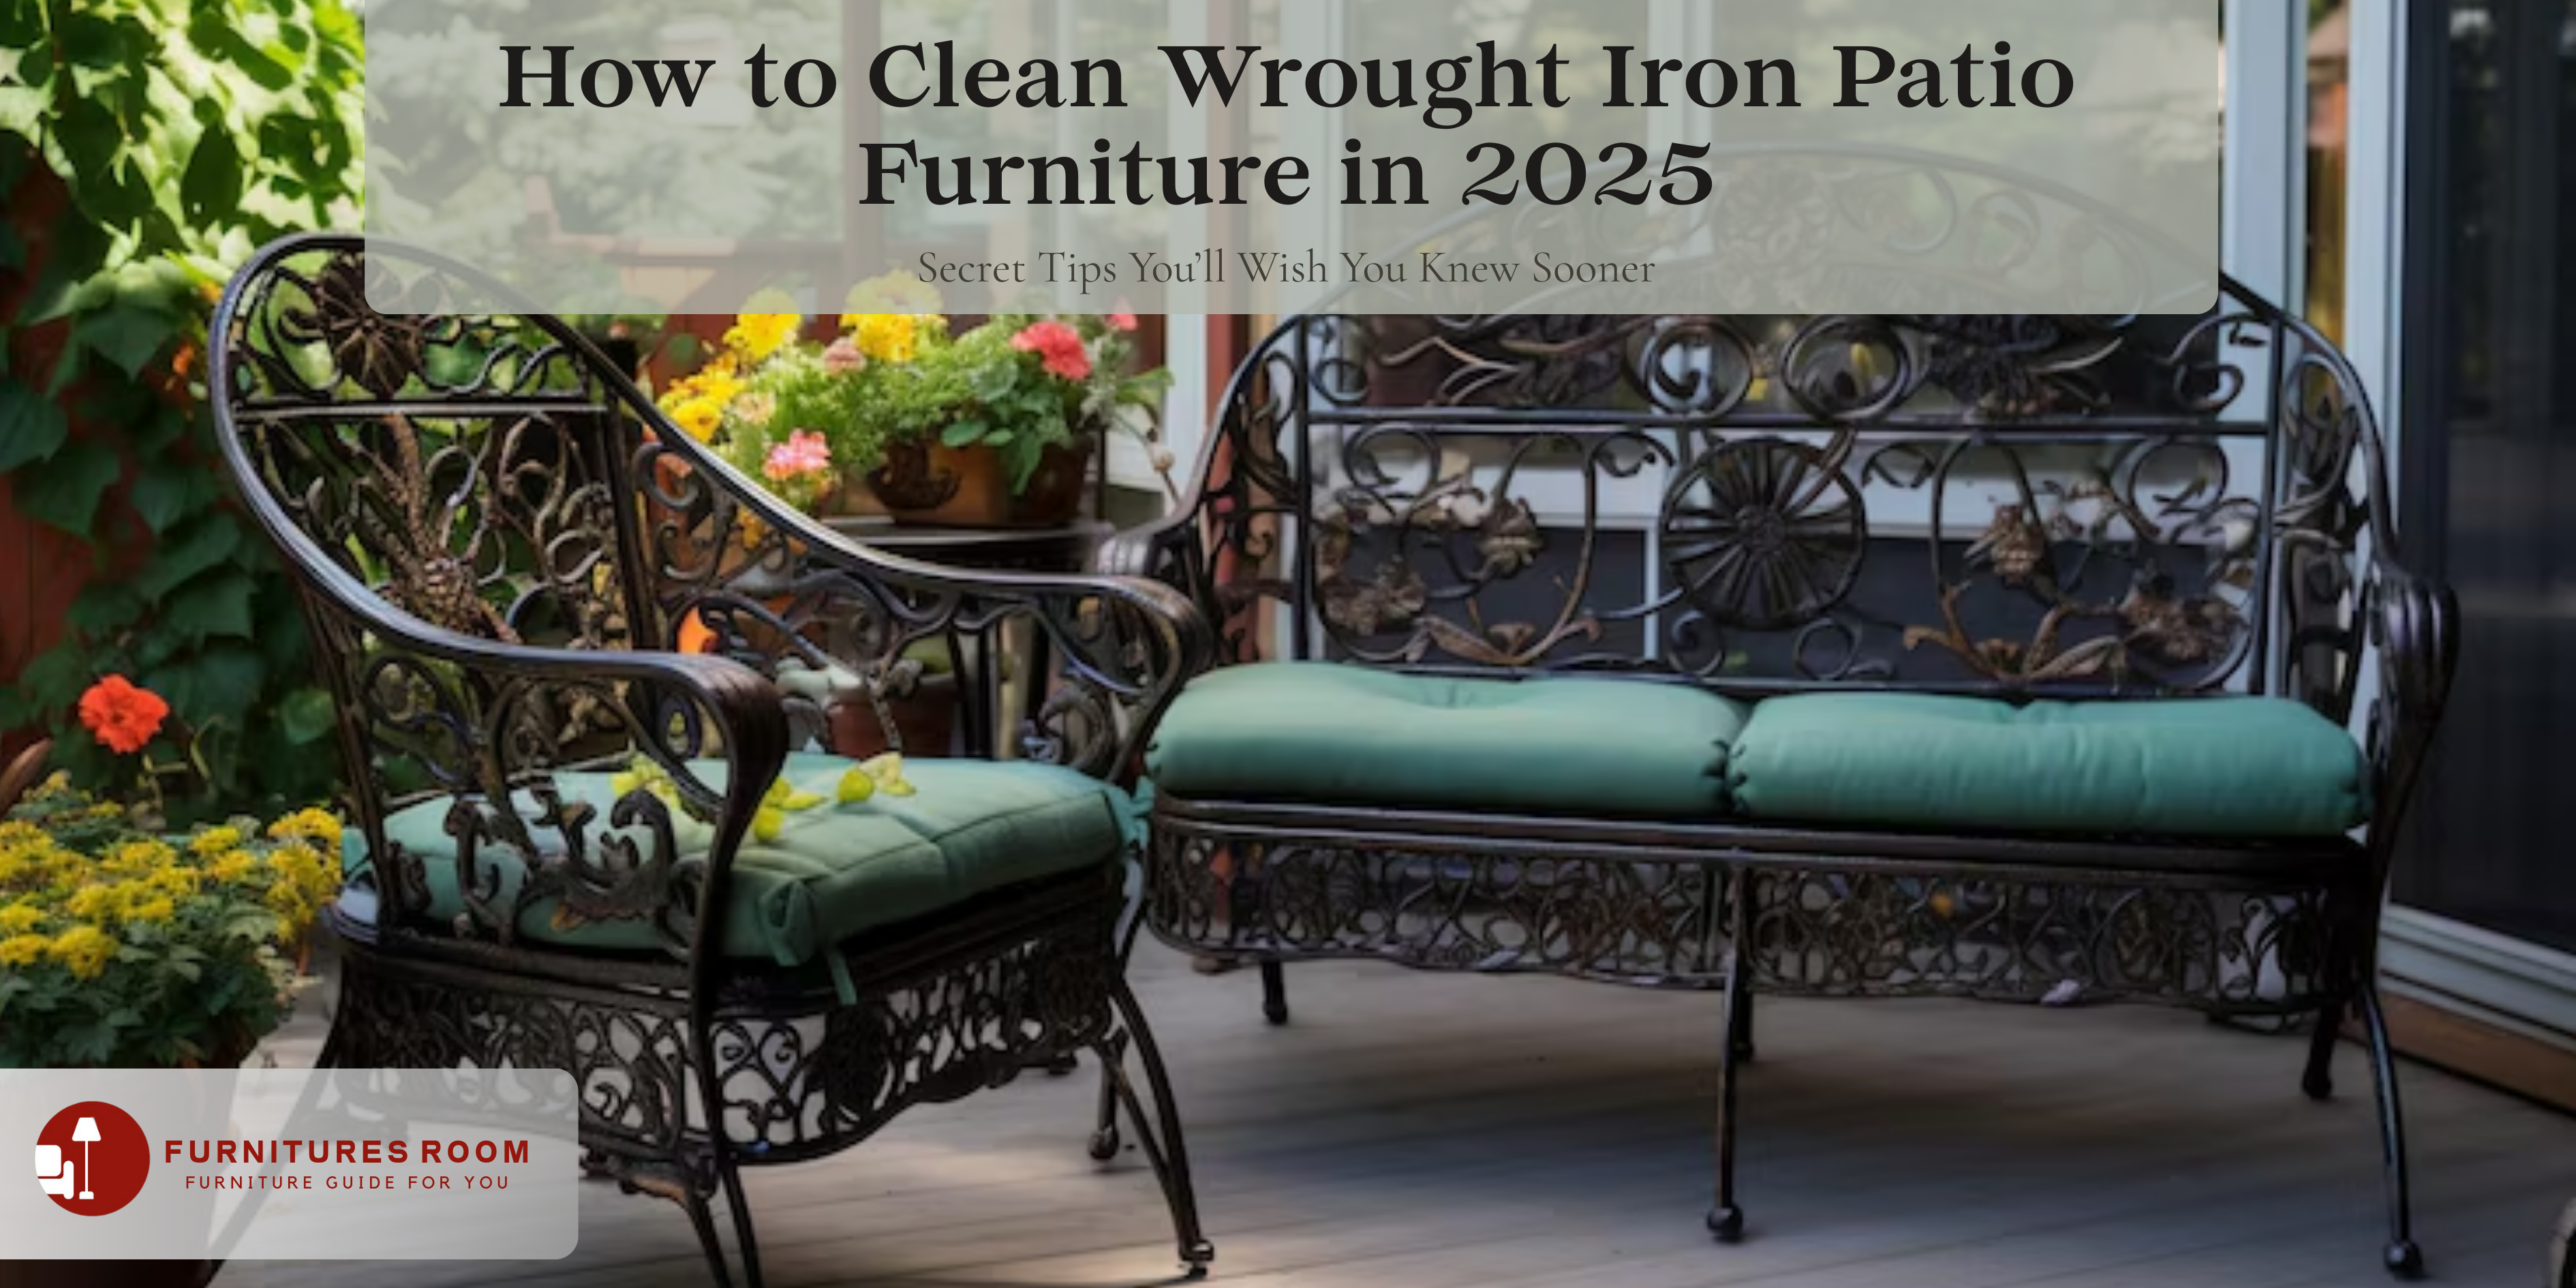
If your wrought iron patio furniture looks dull, rusty, or dusty, you are not alone. The good news is that cleaning wrought iron patio furniture is easier than most people think. In this guide, I will walk you through simple cleaning steps, rust removal secrets, protective coating tips, and long term maintenance ideas so your furniture looks new again. If you haven’t already, check out our full blog on Wrought Iron Patio Furniture for the complete overview of why it’s a top-tier choice for outdoor living.
If you stay with me until the end, you will also discover a simple habit that most homeowners ignore but makes wrought iron furniture last 10 years longer.
Ever sat down on your favorite patio chair only to find it covered in grime, bird droppings, or rust flakes? Yeah, me too. Keeping wrought iron clean seems like a chore, but it doesn’t have to be. The good news? You don’t need fancy tools or harsh chemicals. You just need the right know-how, and that’s what I’m sharing with you today.
Why Knowing How to Clean Wrought Iron Patio Furniture Matters
I often see people invest in beautiful wrought iron patio furniture, but within a few months, it starts looking old, faded, and rusty. You might think this happens because of weather. But here is the surprising truth.
Most damage happens because of improper cleaning or no cleaning at all.
When you learn how to clean wrought iron patio furniture properly, you:
• Prevent rust formation
• Extend furniture lifespan
• Maintain outdoor aesthetics
• Protect paint and coating
• Avoid expensive replacements
And honestly, once you know the right steps, it takes less than 20 minutes.
Let me show you exactly how.
Quick question: When was the last time you deep-cleaned your outdoor furniture? If it’s been over a year, this post is definitely for you. Find out more and get practical tips in our post: How to Maintain Wrought Iron Patio Furniture.
Buying Guide: Products and Tools That Actually Work
You don’t need to go overboard, but here’s what works and what’s a waste of money.
Must-Haves:
- Mild dish soap (the kind you’d use on plates)
- Warm water
- A soft brush or sponge
- Old toothbrush (for crevices)
- A hose or a bucket
- Microfiber cloth
Optional (but game-changing):
- White vinegar for mineral buildup
- Paste wax for extra shine and rust resistance
- Protective covers for off-season storage. Here’s how to choose the right one PVC outdoor furniture cover guide.
Avoid: Steel wool (it scratches), bleach (it’s too harsh), and pressure washers (they can damage paint or detailing).
How to Clean Wrought Iron Outdoor Furniture (Step-by-Step)

Step 1: Remove Dust and Loose Dirt
Before using water or any cleaning solution, I always start with dry cleaning. This step might look small, but it makes a big difference.
If you skip this step, dirt mixes with water and creates mud, which makes cleaning harder and may scratch the surface. This small step makes a big difference.
Here is what you can use to remove loose dirt:
• Soft brush
• Microfiber cloth
• Vacuum with brush attachment
I personally prefer using a microfiber cloth because it easily reaches decorative patterns and curved areas. Wrought iron patio furniture usually has intricate designs where dust hides, so take your time during this step.
Also, do not forget to clean underneath the furniture. Dust and moisture often collect under chairs and tables, which increases rust risk.
This step usually takes only 5 minutes but makes the rest of the cleaning process much easier.
Step 2: Prepare a Gentle Cleaning Solution
The next step is preparing a safe cleaning solution. When learning how to clean wrought iron patio furniture, avoid harsh chemicals. Many people use strong cleaners thinking they will clean faster, but these chemicals damage protective coatings and cause rust to appear sooner.
Instead, I recommend using this simple solution:
• Warm water
• Mild dish soap
Mix a few drops of dish soap into a bucket of warm water. That is all you need. This gentle solution removes dirt, bird droppings, pollen, and outdoor grime without damaging the paint or finish.
Do not use bleach. Bleach weakens the metal surface and causes paint to fade. It might look clean initially, but it actually shortens the lifespan of your wrought iron patio furniture. Keeping the cleaning solution gentle is one of the biggest secrets to long lasting outdoor furniture.
Step 3: Scrub the Furniture Gently
Now dip a sponge, cloth, or soft brush into your cleaning solution and start scrubbing the furniture. I recommend cleaning section by section. This helps you stay organized and ensures you do not miss any areas.
Focus on these parts carefully:
• Armrests
• Legs
• Corners
• Decorative curves
• Seat frames
• Table edges
Wrought iron patio furniture often has decorative scrollwork, and dirt tends to collect in these areas. Use a soft brush or old toothbrush to clean tight corners.
Do not scrub too hard. Gentle cleaning is enough. Aggressive scrubbing can damage paint and expose metal underneath, which leads to rust.
If you notice stubborn dirt, let the soapy water sit on the surface for a minute before wiping again. This makes cleaning easier without applying pressure. Take your time here. A slow and careful cleaning gives better results.
Step 4: Rinse With Clean Water
Once you finish scrubbing, the next step is rinsing. This is one of the most overlooked steps when cleaning wrought iron patio furniture.
If soap residue remains on the surface, it attracts moisture and dust. Over time, this creates the perfect environment for rust.
You can rinse using:
• Garden hose
• Clean damp cloth
• Bucket of clean water
I usually use a garden hose because it is quick and effective. But if you are cleaning indoors or on a balcony, a damp cloth works just fine. Make sure all soap is removed. Pay extra attention to corners and joints where soap can hide.
Step 5: Dry the Furniture Completely
This step is extremely important. Water is the biggest enemy of wrought iron. Even small amounts of moisture can cause rust over time. After rinsing, use a dry cloth to wipe down the entire furniture.
Then allow it to air dry completely. If possible, place the furniture in sunlight. Sunlight helps evaporate any hidden moisture.
I usually combine both methods. First I wipe dry, then I leave the furniture in open air for 20 to 30 minutes. This simple habit dramatically reduces rust formation. Most people skip this step and that is why rust appears sooner than expected.
Step 6: Inspect for Rust Spots
Once the furniture is clean and dry, take a few minutes to inspect it closely.
Look for:
• Small rust spots
• Paint chips
• Scratches
• Fading areas
Even tiny rust spots can spread quickly if ignored. Catching them early saves time and effort later.
If you find small rust areas, do not worry. They are easy to fix. Use fine grit sandpaper and gently rub the rusted area. This removes surface rust and smooths the metal.
After sanding, wipe the area clean with a dry cloth. This step keeps your wrought iron patio furniture looking new for longer.
Step 7: Apply Protective Coating
This is the step most people ignore, but it makes the biggest difference. After cleaning wrought iron patio furniture, applying a protective coating helps prevent future rust.
You can use:
• Outdoor metal spray paint
• Clear protective sealant
• Car wax for metal surfaces
Yes, car wax works surprisingly well. It creates a thin barrier that protects the metal from moisture and humidity. Apply a small amount using a soft cloth and wipe gently.
I recommend applying protective coating every 4 to 6 months. If your furniture stays outdoors year round, you may want to do it more often.
Step 8: Let the Furniture Set Before Use
After cleaning and applying protection, let the furniture sit for a while before using it.
This allows:
• Moisture to fully evaporate
• Protective coating to settle
• Surface to dry completely
Usually 30 to 60 minutes is enough. This final step ensures your wrought iron patio furniture stays in the best condition.
Step 9: Create a Simple Cleaning Routine
Cleaning once is helpful, but creating a routine is the real secret.
Here is the simple schedule I recommend:
• Light dusting once a week
• Deep cleaning once a month
• Rust inspection every 2 months
• Protective coating every 6 months
This routine keeps your wrought iron patio furniture looking new all year. And honestly, once you start doing this regularly, it becomes very easy. You will also notice something interesting. Your outdoor space starts looking more inviting and comfortable.
Clean furniture makes a big difference in how your patio feels. And the best part is that you only need a little time and simple tools.
FAQs: Quick Answers to the Stuff You’re Probably Wondering
Q1: Is it safe to clean wrought iron outdoor furniture using vinegar?
Yes, it is safe to clean wrought iron outdoor furniture with vinegar, but dilute it with water. Straight vinegar can strip finishes.
Q2: How often should I clean it?
At least twice a year, but ideally once per season (spring and fall).
Q3: What if my furniture is already rusting?
Sand the area lightly, clean it, and apply rust-proof paint or wax.
Q4: How does wrought iron compare to aluminum when choosing patio furniture?
Depends on your needs. Iron is heavier and more durable. Aluminum is lighter and less prone to rust, but also less classic in design.
Q5: Should I store it indoors in winter?
If possible, yes. If not, cover it with waterproof covers and raise it slightly off the ground.
Conclusion: Ready to Roll Up Your Sleeves?
Cleaning wrought iron patio furniture isn’t about perfection. It’s about protection. Think of your outdoor area as part of your living space, it needs the same level of attention and upkeep as the rest of your home.
So, what are you waiting for? Check your furniture now, what does it need? A quick rinse? A deep clean? A bit of both? Let’s get it done.
Let me know in the comments, what’s the weirdest thing you’ve ever had to clean off your patio furniture?
Related Read: Wrought Iron Patio Furniture Clearance – Shop Smart & Save Big